Old Selenium Cell from the Front
Rear of Selenium Cell (notice crack)
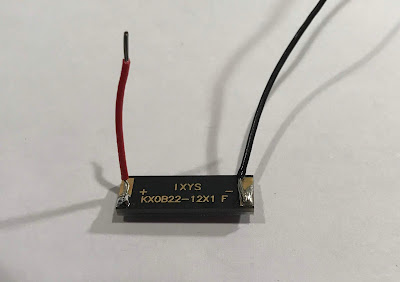
I was able to find a silicon cell measuring 22mm by 7mm.
The other item needed is a resistor. Not knowing what the output of the original selenium cell is, I purchased a 100K OHM adjustable resistor.
New 100K OHM Adjustable Resistor
I soldered wires onto the new silicon solar cell. Next, on the + side I soldered inline the resistor. To take full advantage of the adjustability of the resistor, you must connect between terminal 1 and 2 (middle).
Now it is time to run some tests. I touched the terminals connected to the electromagnet with the wires from the new solar cell and voila the needle moved. I adjusted the resistor until the needle matched the reading of another lightmeter that I own. I proceeded to remove the old cell and resistor and replaced with the new solar cell. To take up some extra space I used a small piece of painted balsa wood. After reassembling I checked against my other meter and adjusted the ASA/ISO gauge to match.
Completed Leicameter 2
How it Looks on the Camera
For more information on the Leicameter click here.


No comments:
Post a Comment